Description
We offer the best pricing and support in the industry! Found a better price? Please contact us and we’ll try to match the price!
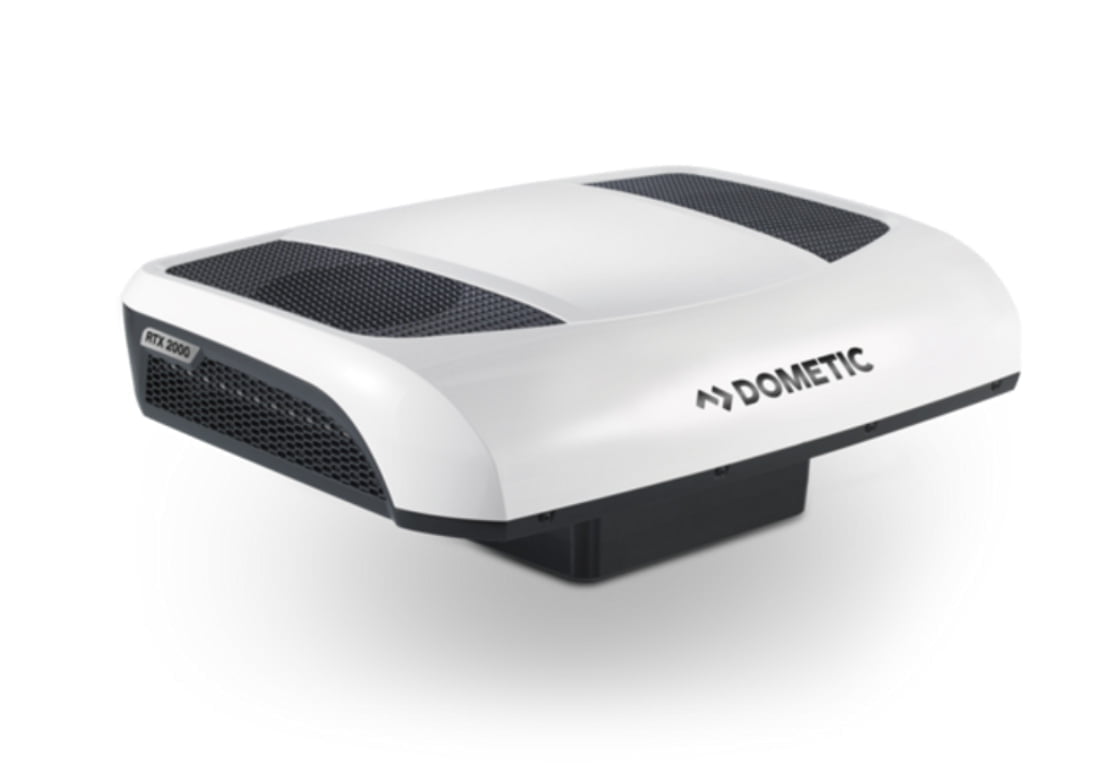
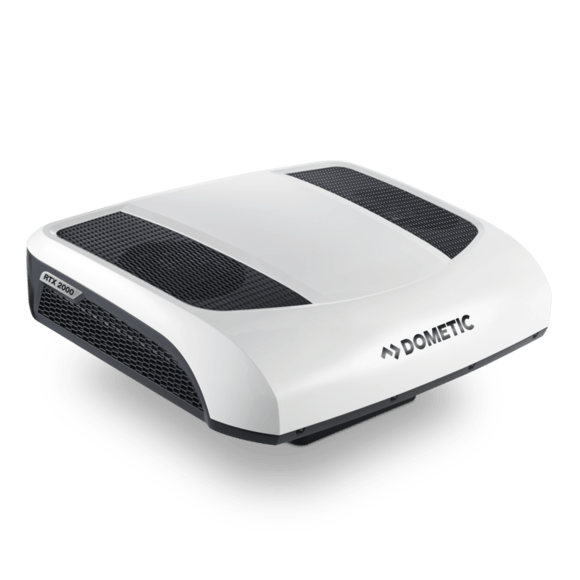
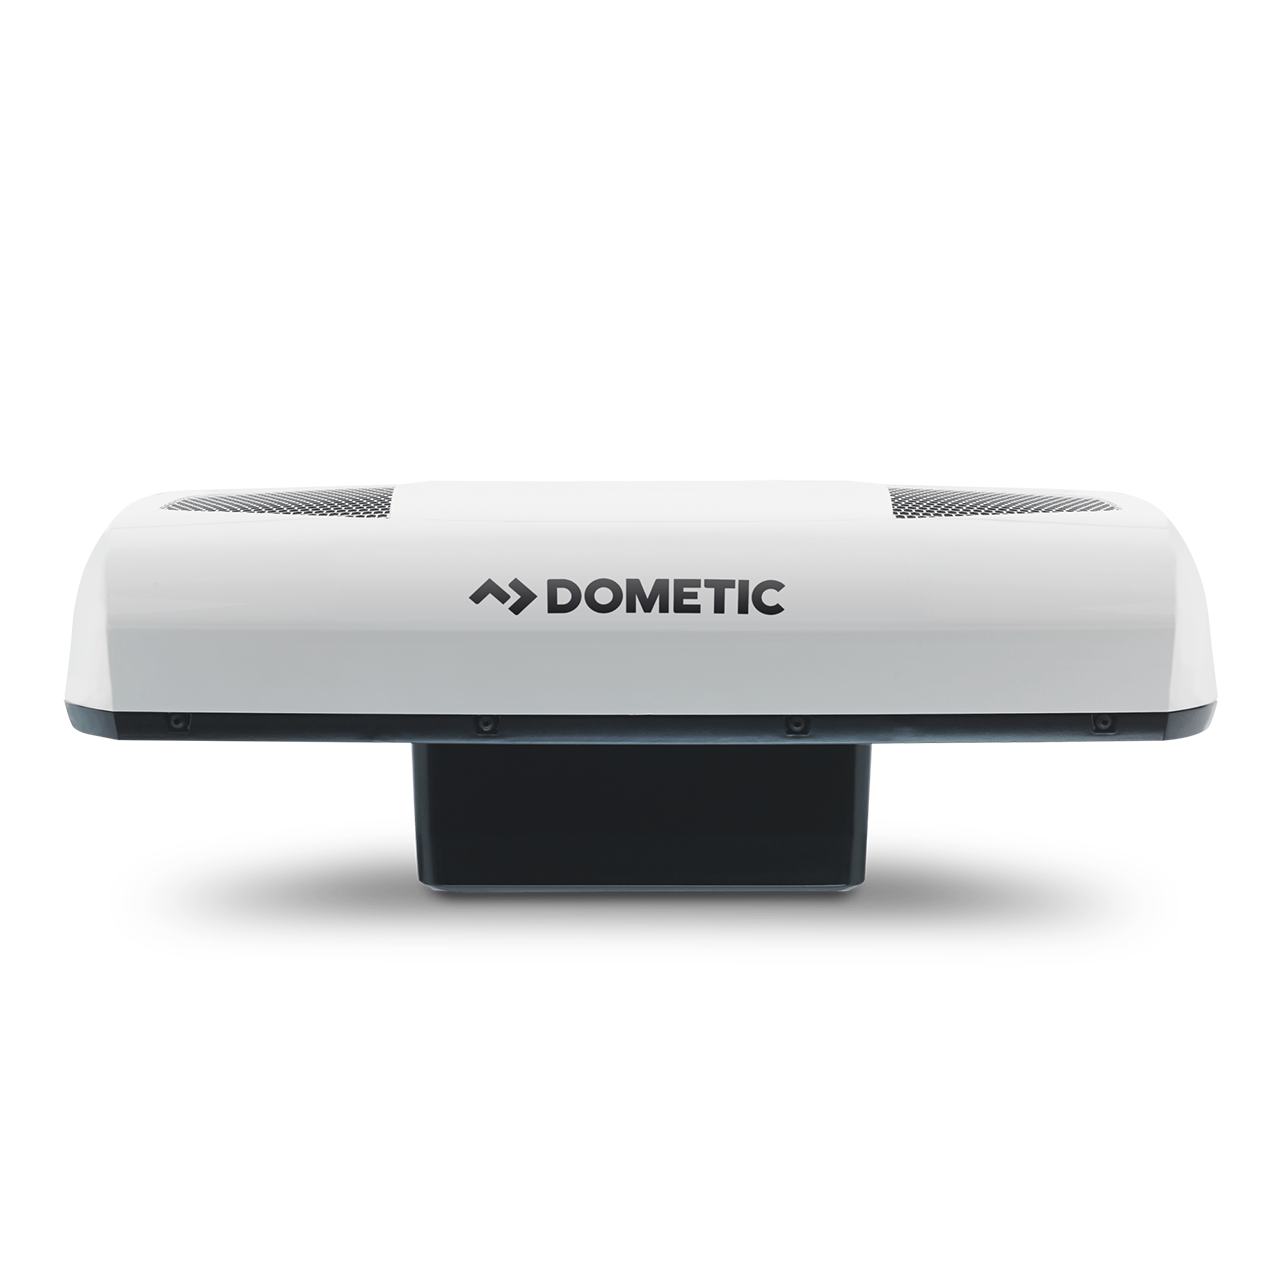
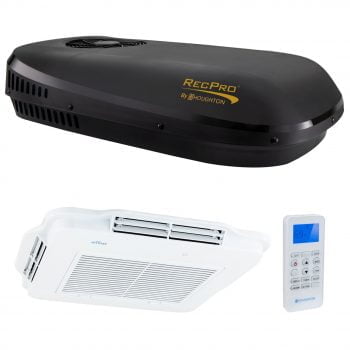
Very popular 12 volt air conditioner for camper vans! This third-generation Dometic CoolAir has been around for over ten years in Europe and is designed to provide the maximum amount of cooling while consuming less energy than their predecessor models. In fact, the new RTX 2000 rooftop units generate more than twice the cooling power at the same running time. All of this is possible thanks to the use of a variable-speed inverter compressor, which makes for excellent cooling performance and amazingly efficient and quiet operation. In addition, the CoolAir is amazingly quiet with its two-cylinder compressor and features a large, high-contrast display that shows the individually adjustable air distribution, the four operating modes – and the adaptive automatic mode of the air conditioner.
Note: unlike most rooftop air conditioners and vent fans that use a square 14″ x 14″ hole/opening on the roof, this unit requires a slightly larger 14.5″ x 14″ opening. A larger, cardboard template that is roughly 19″ x 15″ is included in the box but you can actually use a smaller opening. This video details this opening size well. So does this video.
Not sure which unit is best for your rig? Check out our comparison spreadsheet to see many of the most important data points across the various units at a glance. We'll be continually adding to this reference over time and expanding it with as much "real world" testing as we can!
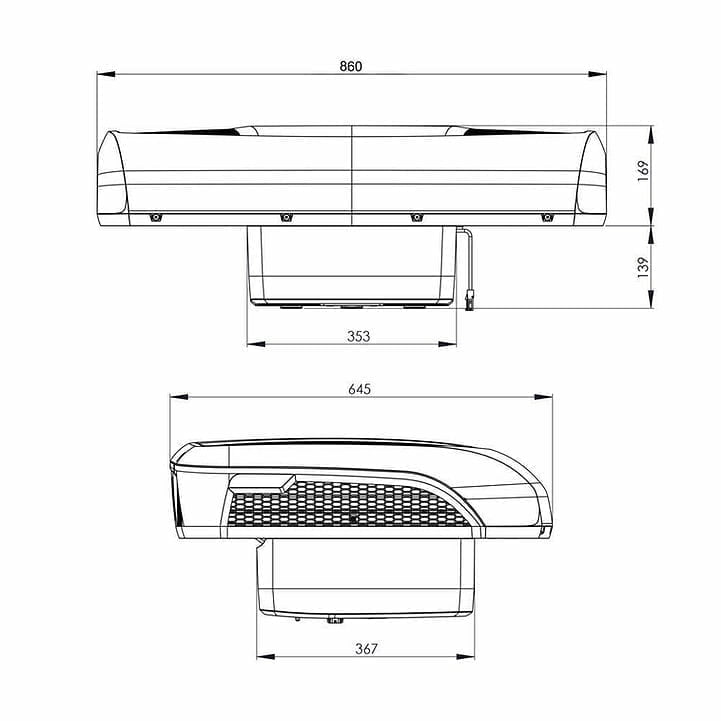
Exterior dimensions: 25.4″ long x 33.9″ wide x 6.6″ tall.
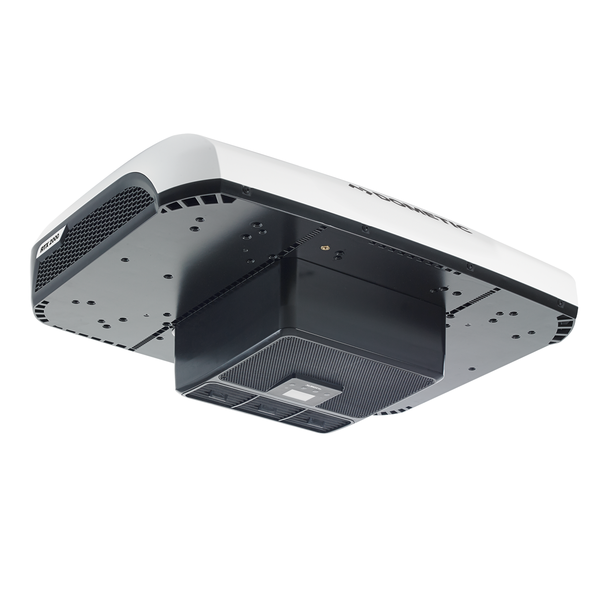
Interior dimensions: 13.9″ long x 14.4″ wide x 5.5″ tall.
This unit is AC only, there is no “fan only” mode for recirculating air.
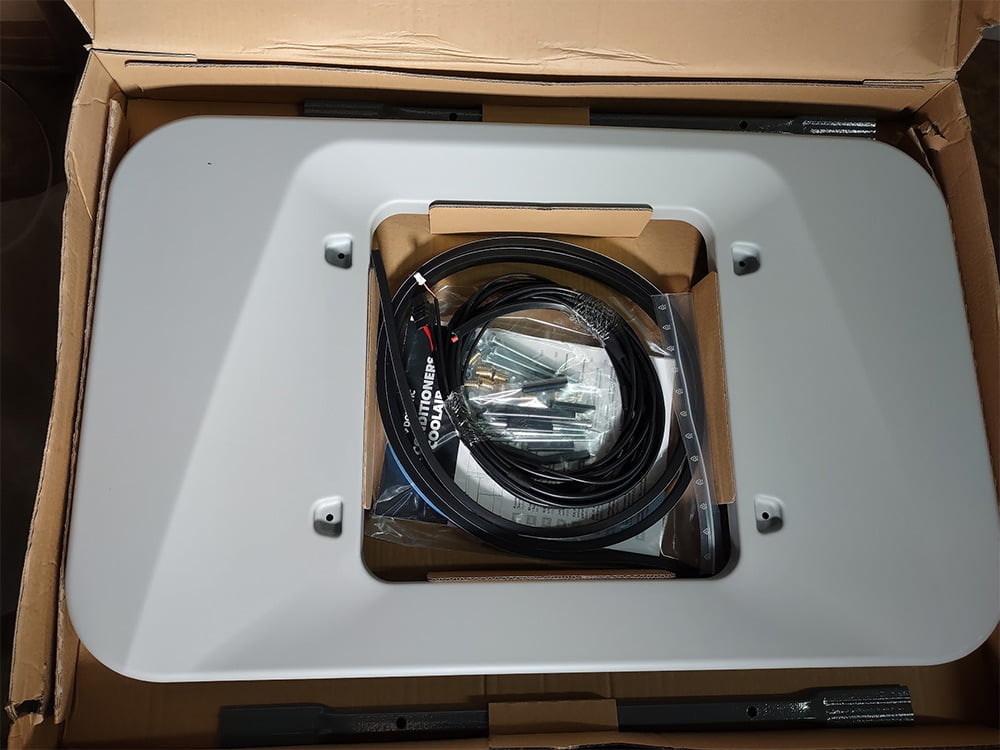
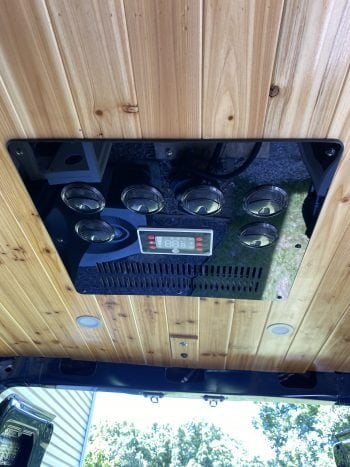
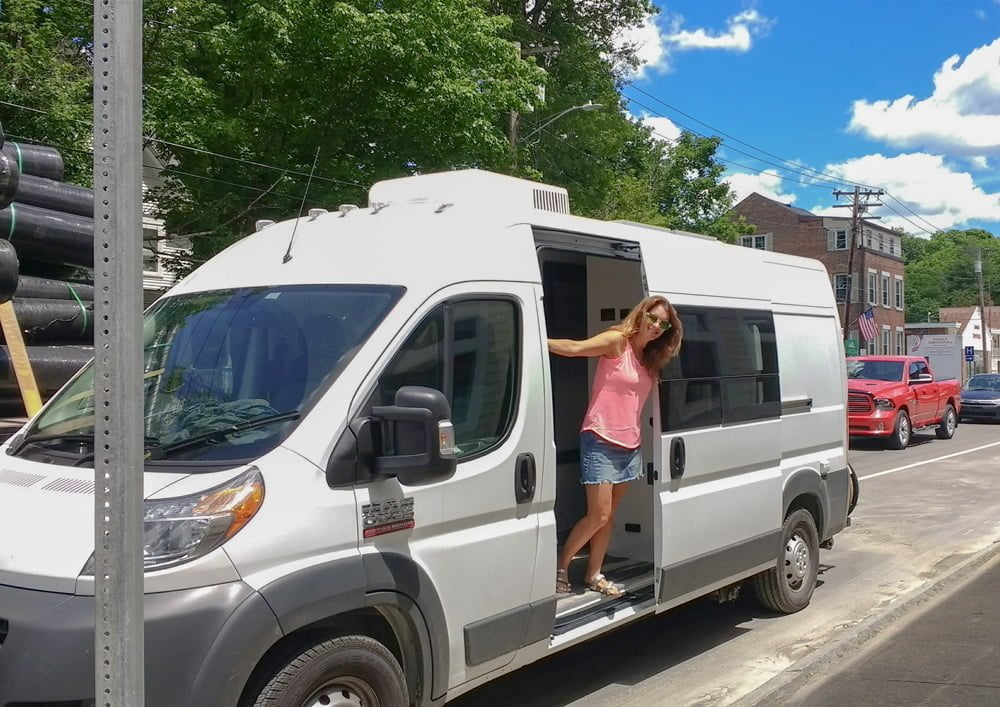
Below are a few photos of the Dometic RTX 2000 air conditioner installed into a camper van from our customer Noma. Click here to see a photo album of everything that comes in the boxes when you purchase the air conditioner with the required installation hardware and wiring kits.


Our Advice on Optional Installation Kits from Dometic
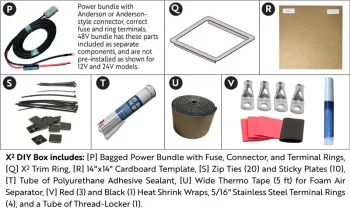
If you want to keep your installation as simple as possible, your best option is to purchase BOTH the “installation hardware kit” and the “wiring kit”. We have a photo tour of each kit that you can see using the links below. This will get you everything you need. It ships in 3x boxes (1x AC unit, 2x kits). However, it’s expensive and there are some parts that most installers just don’t use. For example, in the “installation hardware kit” there is a very large interior trim piece that is too bulky for most van builds and a 24-volt wiring harness that you won’t be using with your 12-volt AC! Or, in the case of the “wiring kit” it’s simply expensive relative to a DIY solution.
- Photo tour of what’s included with the “installation hardware kit”
- Photo tour of what’s included in the “wiring kit”
In our view, the “installation hardware kit” is largely essential for installation – it includes things like the crossbar/brackets, threaded inserts, bolts and so forth. So, we highly recommend including that with your purchase. On the other hand, if you want to save some money, and you have the skills, you can forgo the “wiring kit” and use your own wire and our list of recommended components below to wire up the unit much more affordably. If you’re doing a van build, there’s a reasonable chance you already have some of these things! The components below will cost somewhere around $125 compared to the $399 price for the Dometic “wiring kit”.
One important note about this is that, if you don’t use the Dometic “wiring kit”, and you have an issue where you request warranty support from Dometic, you will have to demonstrate to them that your wiring is not the problem. Some ways of doing this are documenting your installation with photos and being able to show that the wiring is sufficiently sized (wire gauge) and functional by showing the voltage at the end of the circuit where it connects to the AC unit.
Another thing we’d like to point out is that the “installation hardware kit” includes a shorter gasket for the roof whereas the “wiring kit” (oddly), includes a taller gasket. So, be aware that if you omit the “wiring kit” you’ll only have the shorter gasket.
DIY Wiring
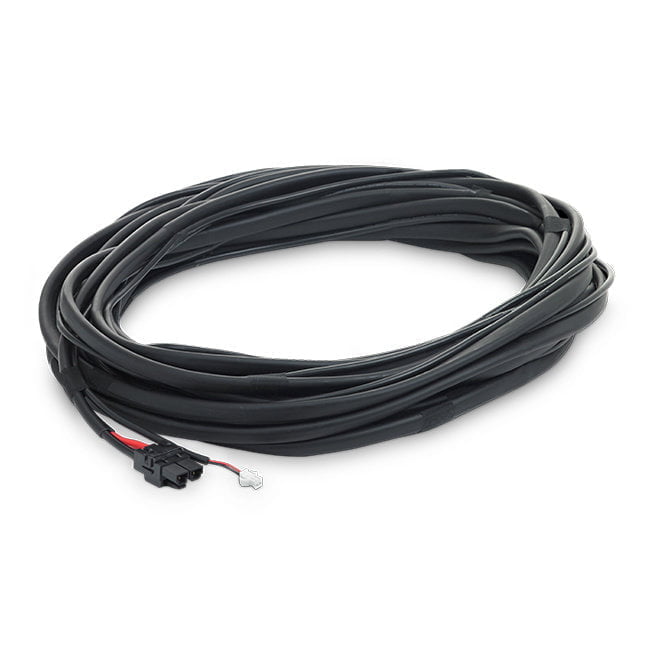
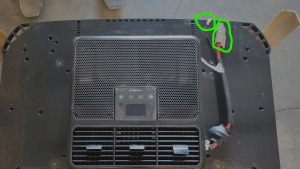
If you choose to wire the unit without the “wiring kit” you will be cutting off the “Anderson” connector and the small white connector coming out of the bottom of the AC unit. These are shown circled in the photo below. This will allow you to use “butt splice” connectors to bridge the wires you run from your 12-volt DC power system.
 Parts:
- Red and black 4 AWG wire – this will be used for the main 12-volt power to the unit from your DC bus bar. This is for a “typical” van installation where the wire length between the 12-volt supply to the AC unit is short (30′ or less). Always make sure that you consider length when determining the correct wire gauge to use for any circuit. We recommend the Blue Sea Circuit Wizard for this.
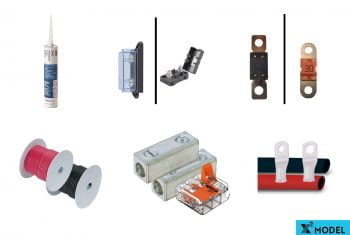
- Fusing for the red, positive wire. If you’re using a Lynx Distributor and have one of the fused terminals available, you can use an 80 amp mega fuse. If you don’t have an available fused terminal or are using some other type of bus bar, you can use a MIDI fuse holder, along with an 80 amp MIDI fuse. Many installers will use the “expansion legs” of the Lynx Distributor where one or more Lynx products are bolted together as a connection point for an 12-volt air conditioner that has its own fusing (example photo of this location). So this would work well if you purchase the MIDI fuse holder/fuse. You want to place the fuse as close to the connection point as possible.
- 2x Southwire splicers with screw terminals. These are used on the larger wire coming out of the AC unit base to your 4 AWG 12-volt supply wires. After splicing, you can cover the splicers with heat shrink to provide electrical insulation.
- 18 AWG, 2-conductor wire – this is used with some butt splices to connect the smaller wires coming out of the AC unit base to the 12-volt DC supply/bus bar. Unlike the larger wires, these don’t supply power to the AC unit, instead, they are used to sense voltage and therefore should be wired up to the same “source” terminal as the larger, primary wires. Since there can be some voltage drop on the larger wires when the AC unit is operating, these smaller wires can provide a more accurate read on the supply voltage at the “source”.
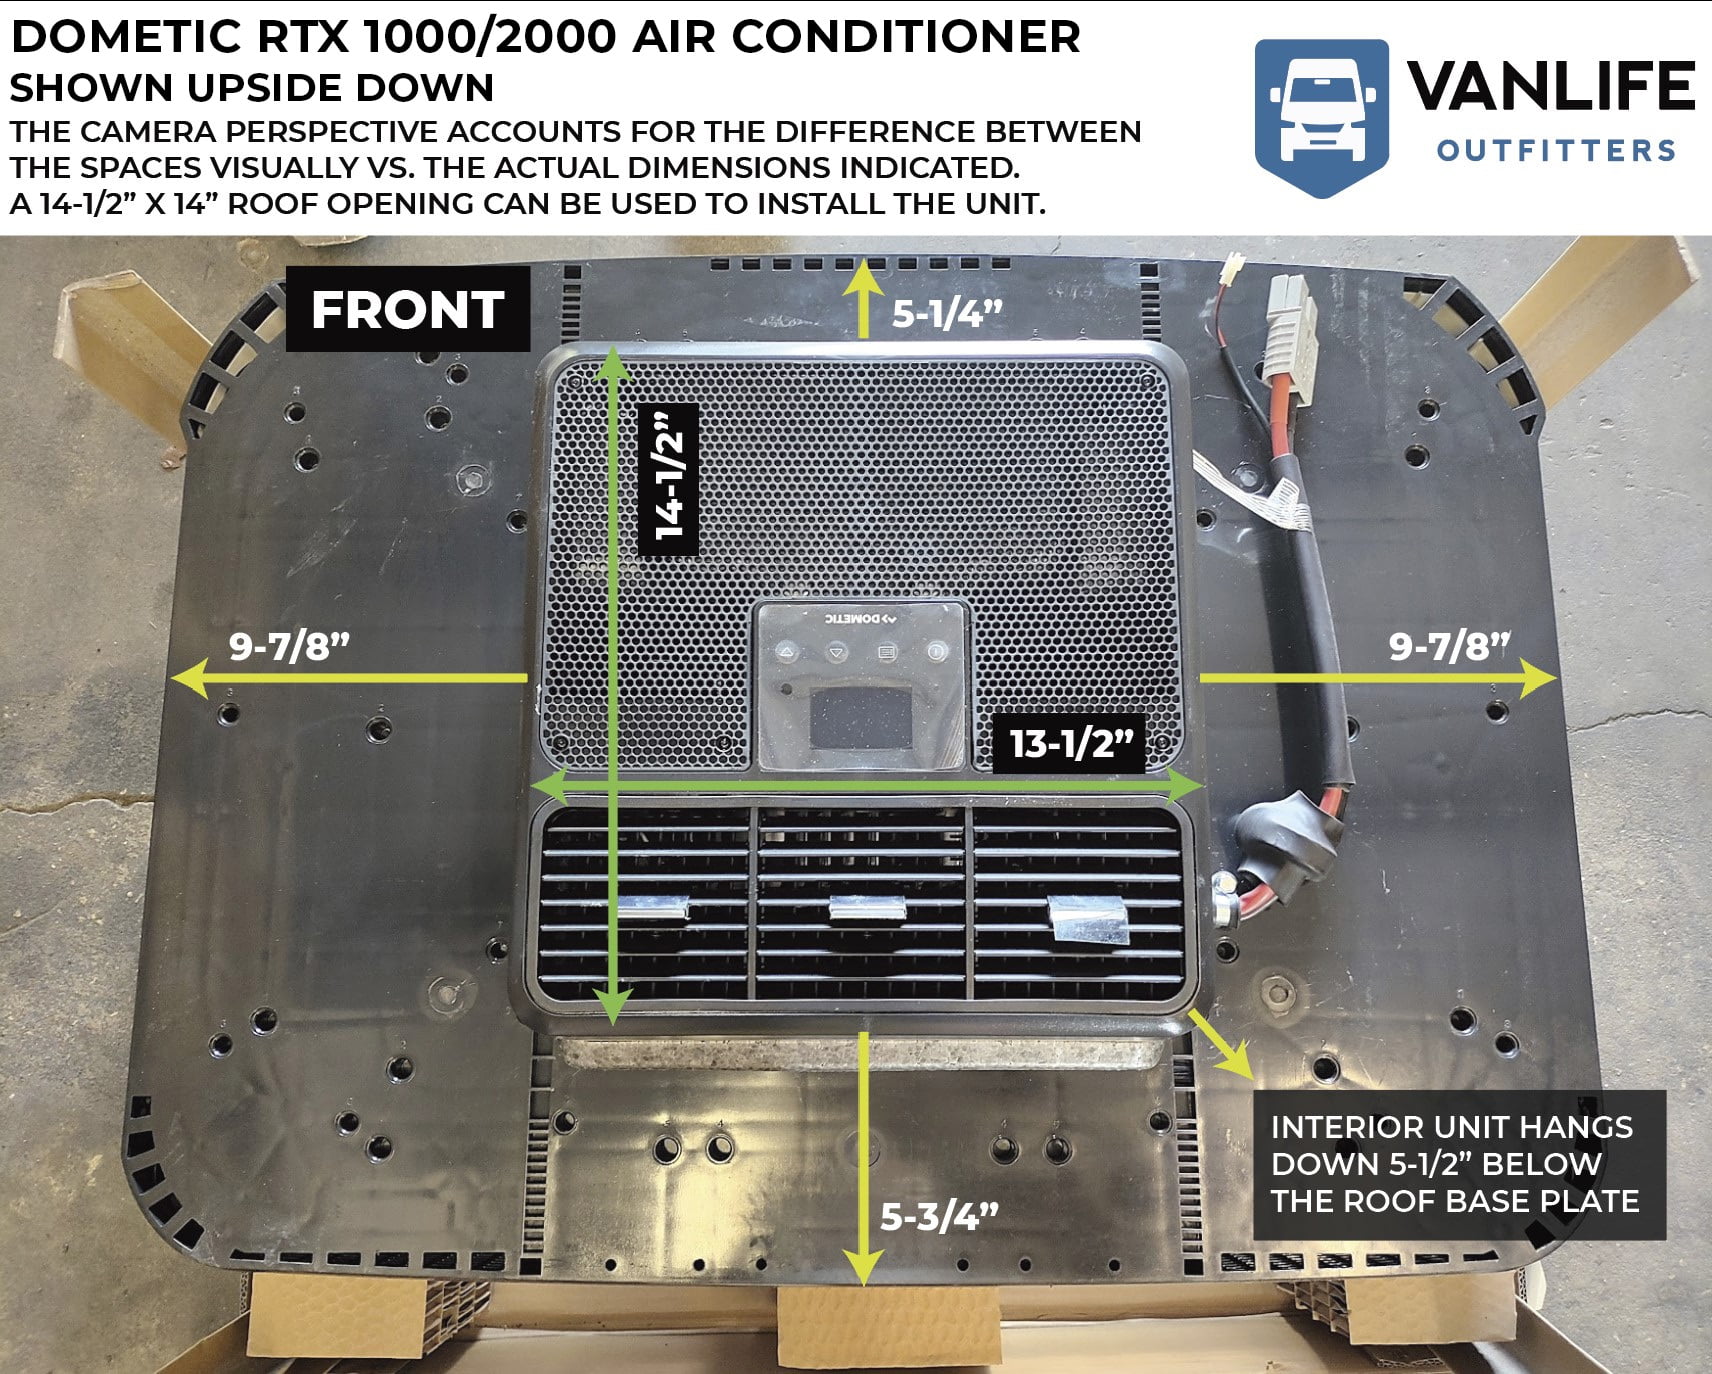
The image above shows the unit upside down and the various measurements on the unit. It’s sometimes helpful to know the space between the outside edge of the interior control panel/vents and the outside edge of the exterior unit.

