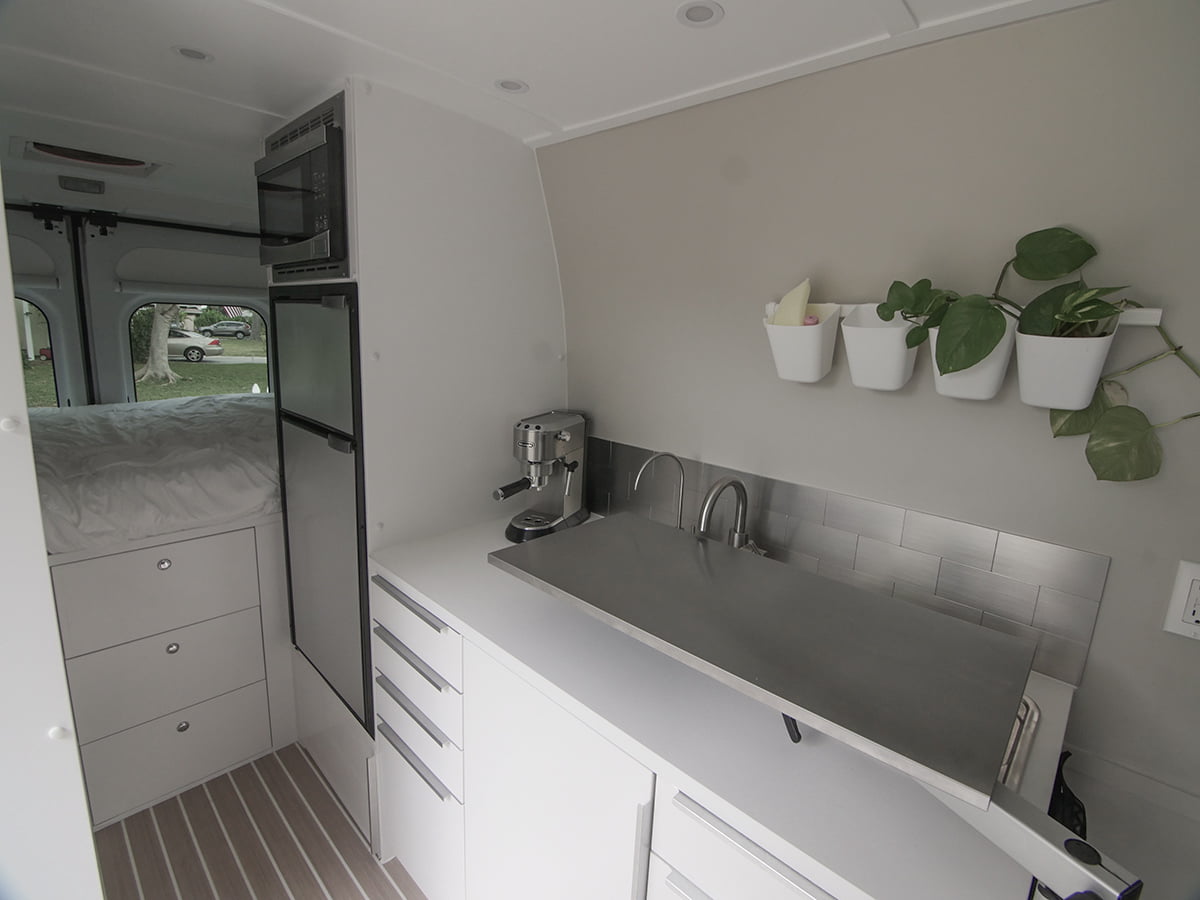
One of the questions I get asked the most about my DIY Promaster camper van is what I used for the walls and ceiling. Many people use wood slats (generally tongue-and-groove) for their ceilings which looks great and offers a lot of optoins in terms of materials and styles. However, I wanted a cleaner look. I also wanted to emphasize the curves of the van – particularly on the walls. So, I used this 1/4″ luan type plywood. Lots of it! It’s an inexpensive material that conforms to the curves but is solid enough to keep it’s shape when installed.
There are two basic challenges to this process…
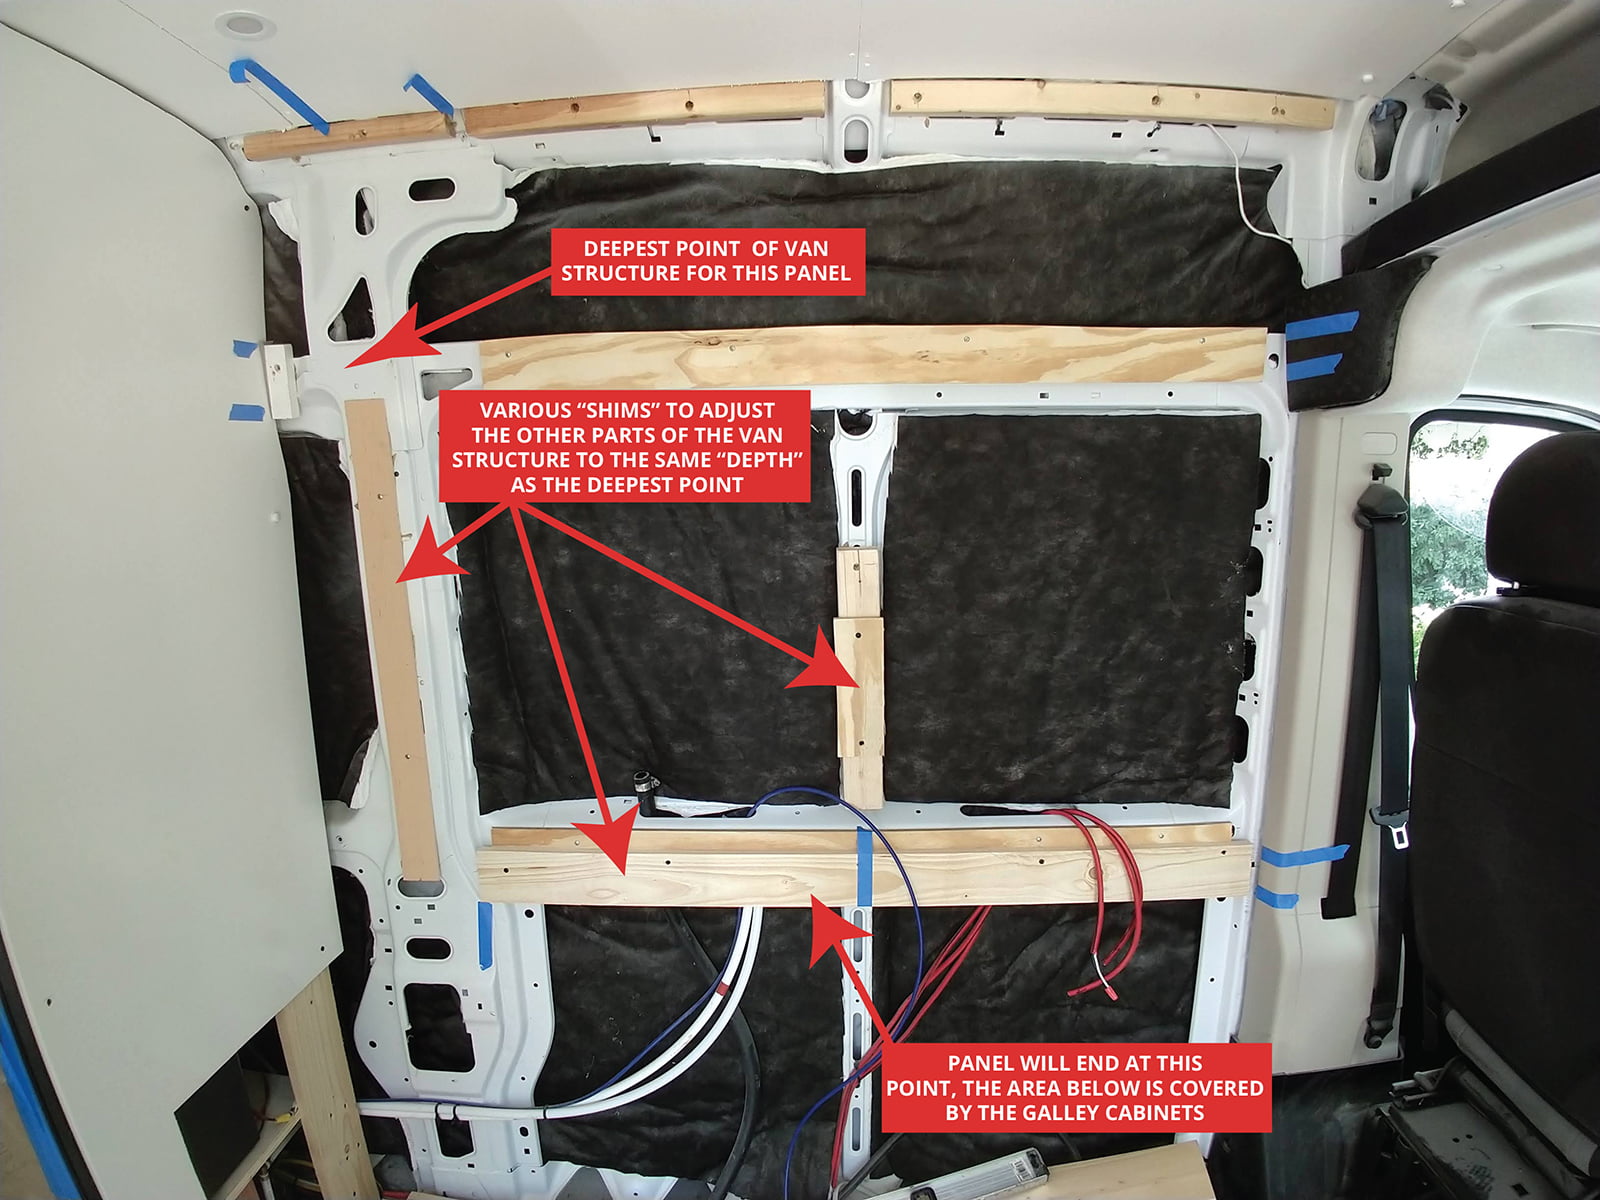
The first challenge is adding some “framing” for the plywood to be fasted onto since the structural parts of the van are never flat/even across any plane! I have seen dozens of approaches to this. For instance, some builders will add vertical wood framing all the way from the floor to the ceiling creating one flat surface. Others will create a number of these “vertical spans” that are angled in various places so that the curves essentially become a few angles. Since I wanted the walls to look curvy and to maximize all the interior space of the van, my approach was to basically find the “deepest” part of the van’s structure in the area where a panel was going to be placed – the part that stuck out into the van itself the most – and then “shim” the adjacent areas to be the same depth. This can get pretty tedious if the wall panel you’re working with covers a large area since there may be 6-7 different “depths” to be accounted for. So, there was much cutting and layering of material.
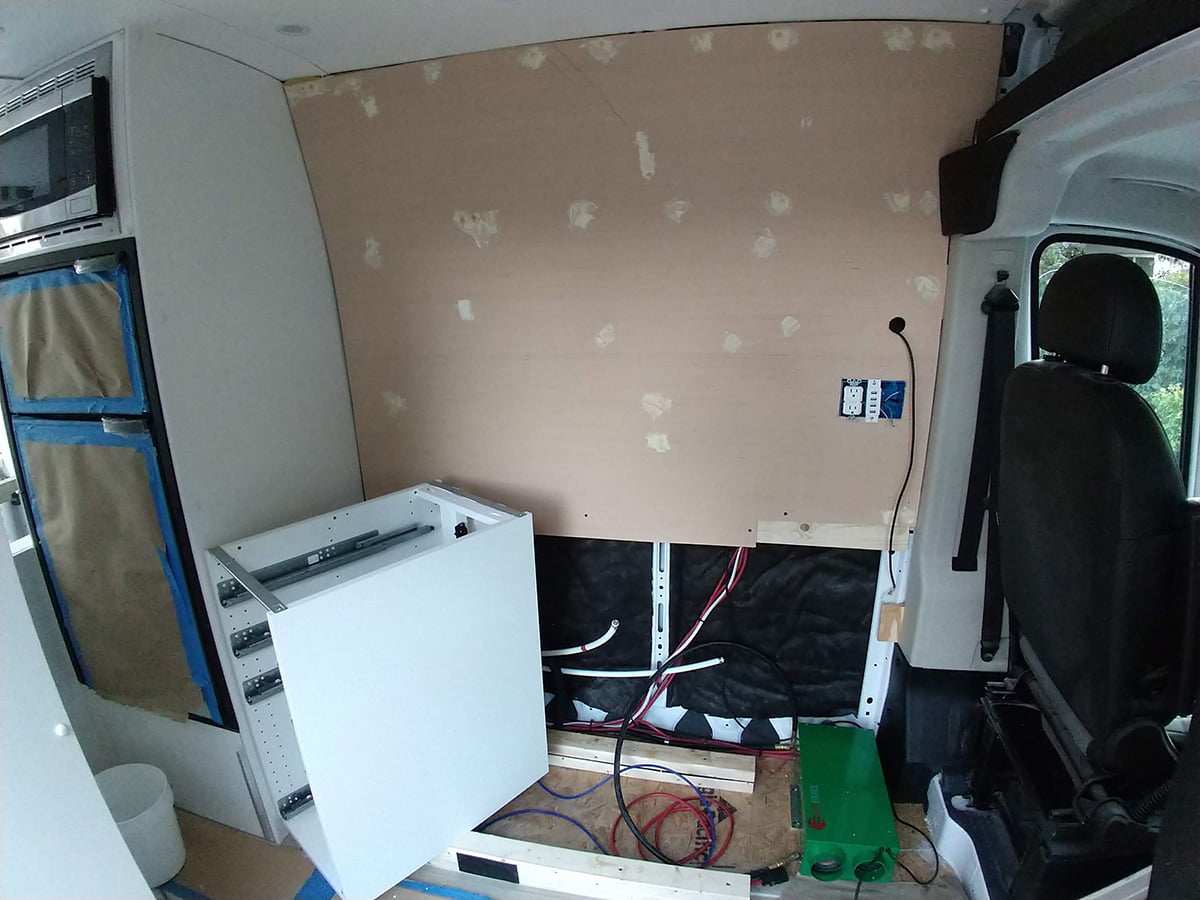
Below is a photo of the large wall panel that is above the galley area which covers all the way from the side of the refrigerator/microwave cabinet in the rear to just behind the cab in the front. The panel does not go all the way to the floor since the galley cabinets cover that bottom area. I choose to only put panels up where they are seen so there are none below the bed, etc. in order to save on weight.
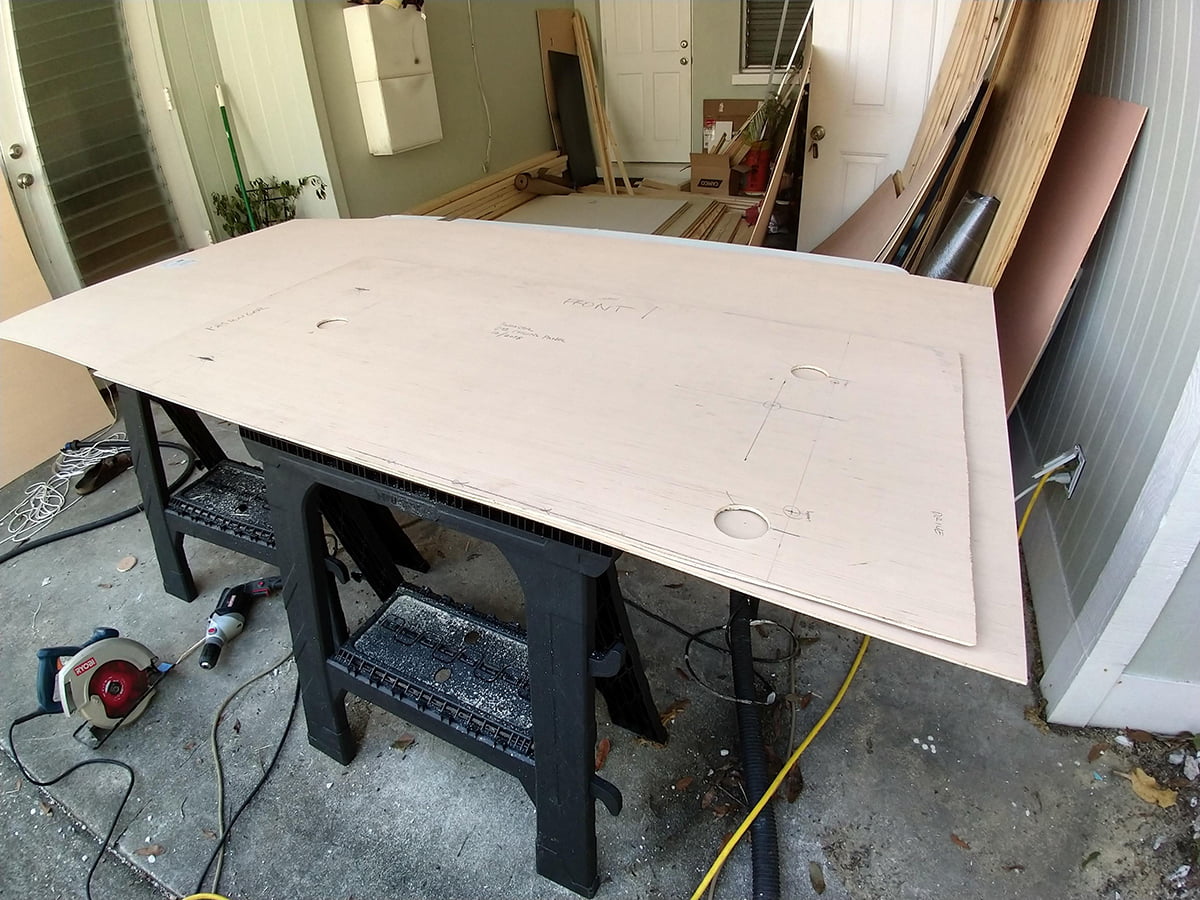
The second challenge is cutting the panels themselves. Particularly when you have compounding curves, openings for electric outlets and so on. The panels have to be just the right size. Generally I would start with basic measurements of the area and transfer these to a cardboard template that was slightly smaller on all dimensions. Then I would bring this template into the van, tack it into place with staples or screws and then start adjusting. By making the first template smaller all around, I can start adding onto it with strips of paper, tape, etc. until the precise shape is represented on the template. After a few round of this I transfer the template to the actual plywood and cut.
The next image shows a template nearing it’s final stage. This one was for the ceiling, right behind the cab where the air conditioner is installed as well as several lights. I often made the last template (the one right before the final transfer/cut out) from the same luan plywood so I could keep it around… Who know, I might be crazy enough to do this again.
Below you can see this panel installed. The screw heads are all very slightly counter-sunk and then filled in with wood putty and sanded even prior to painting.
Importantly, I make sure to always leave small gaps (1/8″ minimum) between panels or between panels and adjacent walls/objects. I also use very thin (1/8″) foam tape between wooden panels and their connection point to any metal on the van. These two measures are to make sure that I don’t get squeaks where these parts interact, expand, contract, bounce around, etc. Once all the panels are installed I make “trim” material by cutting 1-1/4″ strips from the same plywood with a table saw. These trim pieces hide the gaps and also add an element of style. In some places, such as between a wall and the ceiling or in corners, these small gaps are sealed with a high-flexibility paintable caulking.
Of course, the final step is to paint the panels. I used a combination of spray painting and high density foam rollers to achieve a smooth surface with minimal paint texture and was very mindful of clean/straight lines between the paint colors. I always keep some touch-up paint for both the beige and white colors in the van so little repairs are simple.