So ya bought a Promaster van and the dealer thought it was a good idea to upgrade that passenger side to be a bench seat. Despite RAM themselves acknowledging (and promoting) “hash-tag-van-life” (even made this video about it), Despite that RAM sometimes (or sort of did in the past) promote their vans for camper conversions, their dealers hold tightly onto their assumption that all Promaster vans are used by trades people and they must always want it in white. So, of course, they’d also want that old bench seat too, right? The reason that second sentence is struck out is that the video, which did show Promasters in #vanlife situations, was set to private. I guess RAM may have further firmed up their belief that Promaster vans are only for tradespeople.
Well, if you’re turning your Promaster into a camper/adventure van, you probably want swivel seats up there AND to be able to walk to between the cab and living area of the van so that bench seat has got to go. This was the situation I found myself in when I embarked on Miles Van Camper (v2).
This post details how to go about the seat swap operation. This is all based on my 2017, 2500, 159″ wheel base Promaster. If you decide to do this, you do so at your own risk. I am not advocating this process – I’m only sharing what I did.
Finding a Donor Seat
The first thing I had to do was find a donor seat for the transplant. Any Promaster van that has the passenger bench seat has cloth (not the vinyl) seats. They are black and grey. I started by posting on the Promaster forum but did not get any responses. The RAM dealership told me flatly that they would not sell me a seat for essentially safety (really legal) reasons. They said they could sell me all the parts to assemble such a seat but that would have been ridiculously expensive and silly. The “safety” concern revolves around the fact that Promasters that come from the factory with a passenger bench seat have computers that insist that there are three seats. So, if you take the bench out, and you end up with only two seats, you must placate this computer. Much more on that later. Eventually I realized I needed to hunt down a salvage seat and I found an awesome site (car-part.com) that is basically a directory of salvage parts. This was a huge help. It allows you to search for the part and narrow down where to hunt geographically (example search in the Tampa area of Florida). Most of the people I spoke with said that seats are hard to find – particularly if they’re in good shape. Since these are essentially wrecked vans, you can imagine what’s happened to the seats! Most were not really aware of the difference between the vinyl and cloth seats (they do look fairly similar). So, be sure to be very specific about what you’re looking for and ask about the quality. I showed up at one place only to discover that the seat I was there to pick up, that was labeled as cloth was actually vinyl and, since I wanted a matching set it didn’t work out. It was interesting to see some of these van carcasses though.
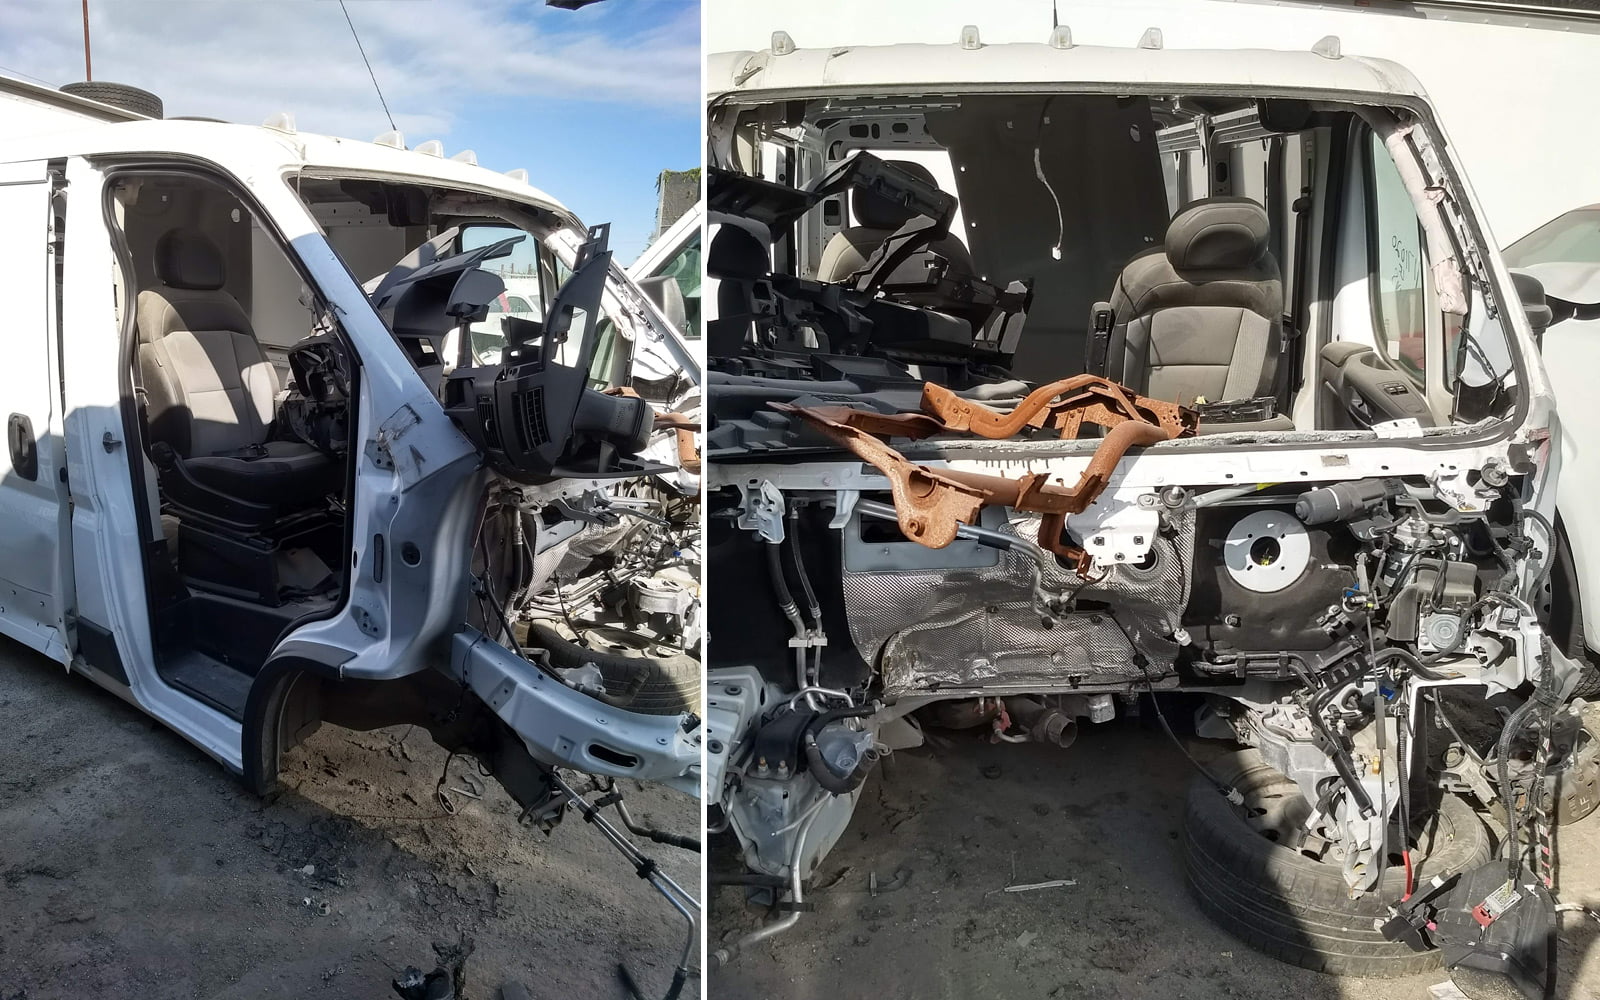
I ended up finding a reasonable deal on a “set” (driver and passenger) of vinyl seats from All Pro Auto Parts in Auburdale, Florida. It cost be $347 including delivery to a repair shop near me in Sarasota, Florida. They were great to work with and seem to be big enough to have a pretty impressive collection of donor parts. Ultimately, I sold the bench seat for about that same amount so it worked out well. The seats were not in fantastic cosmetic shape, but I had already decided to use these Coverking, custom-fix seat covers in the “taupe” color. I had the vinyl seats in my first van and wanted something that was a bit softer and less hot (I live in Florida after all) and the taupe color would work well in my design. I have not installed them yet but they look great and the taupe color is quite similar to the taupe/beige color plastic trim in the Promaster.
The Transplant
Now that I had the two seats, I was ready to pull out the old ones and put in the new. I went ahead and installed the CTA swivel adapters while I was at it. Removing the seats begins with disconnecting the negative terminal from the van battery so nothing crazy happens. This is an important step! Next you disconnect the wires underneath each seat. For the passenger bench seat there are two sets. We’ll get into that more. From there it’s quite simple to unbolt the entire seat. There are tons of articles about installing swivel seats so I won’t detail that part. Installing the new seats is essentially the same process in reverse. You bolt on the seat frame but, then there are those wires…
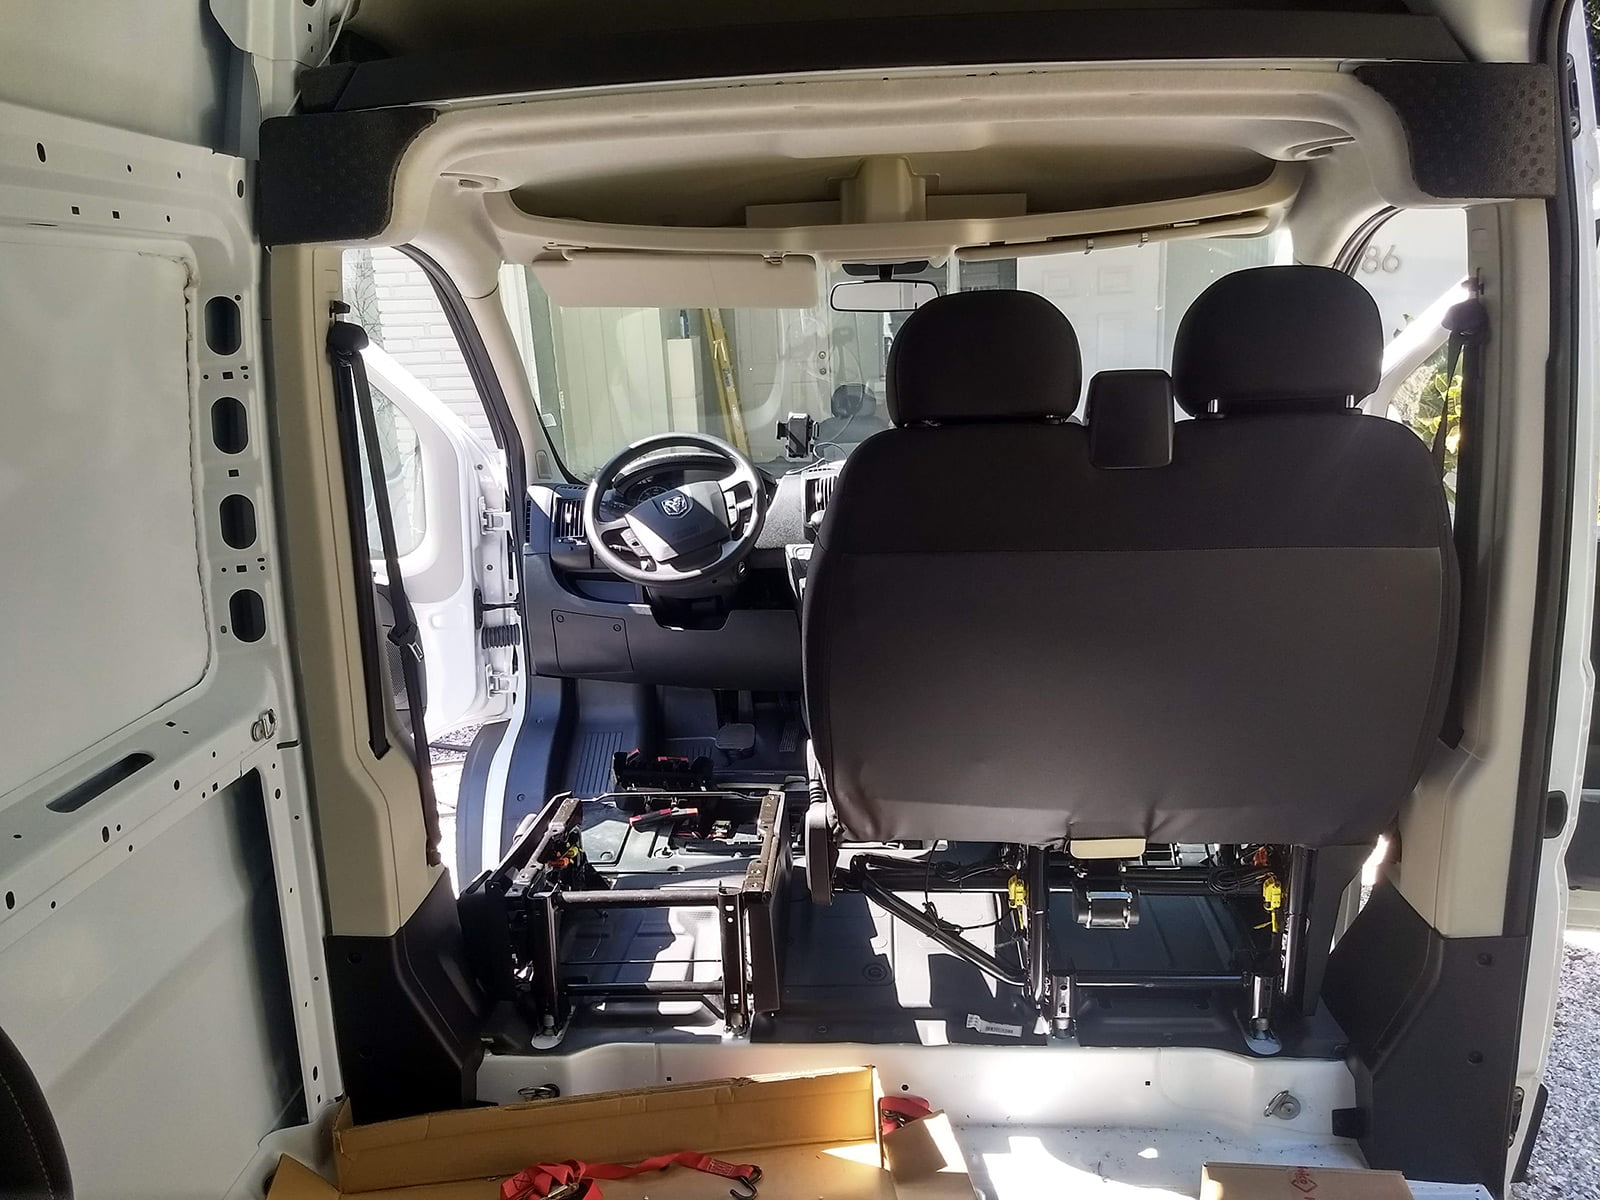
Tricking The Computer – We Humans Are Still A Tiny Bit Smarter Than Our Machines
The key to placating the computer is to replicate the sensors that are now “missing” for the third seat (the one that was in the “middle”). The passenger seat(s) have two sensors. The first is a Occupant Detection Switch (part number 68237023AA) that tells the computer if someone is sitting on the seat based on weight so that the airbag can be triggered for that seat in an accident. The second is a “seat belt pretensioner” (part number 5RM76JXWAA) which is built into the seat belt latch.
So, the basic plan was for me to use these two sensors/parts from one of the bench seats that I was removing/replacing and then hook them up to the correct wires for the missing “middle” seat thereby tricking the computer into thinking that middle seat was still there. And, since there would be no pressure on the “occupant detection switch”, it would assume the seat was empty. This entire idea and the confidence to do this operation from this awesome post on the Promaster forum.
So, I took the two parts/sensors from the bench seat, hooked them up to the “middle seat” wires and also connected the appropriate wires on the new driver/passenger bench seat, reconnected the negative terminal to the battery, crossed my fingers and started up the van. Immediately, the airbag light came on in the dash. Shoot. I checked the wires, made sure I hooked everything up right and tried again. Same airbag light.
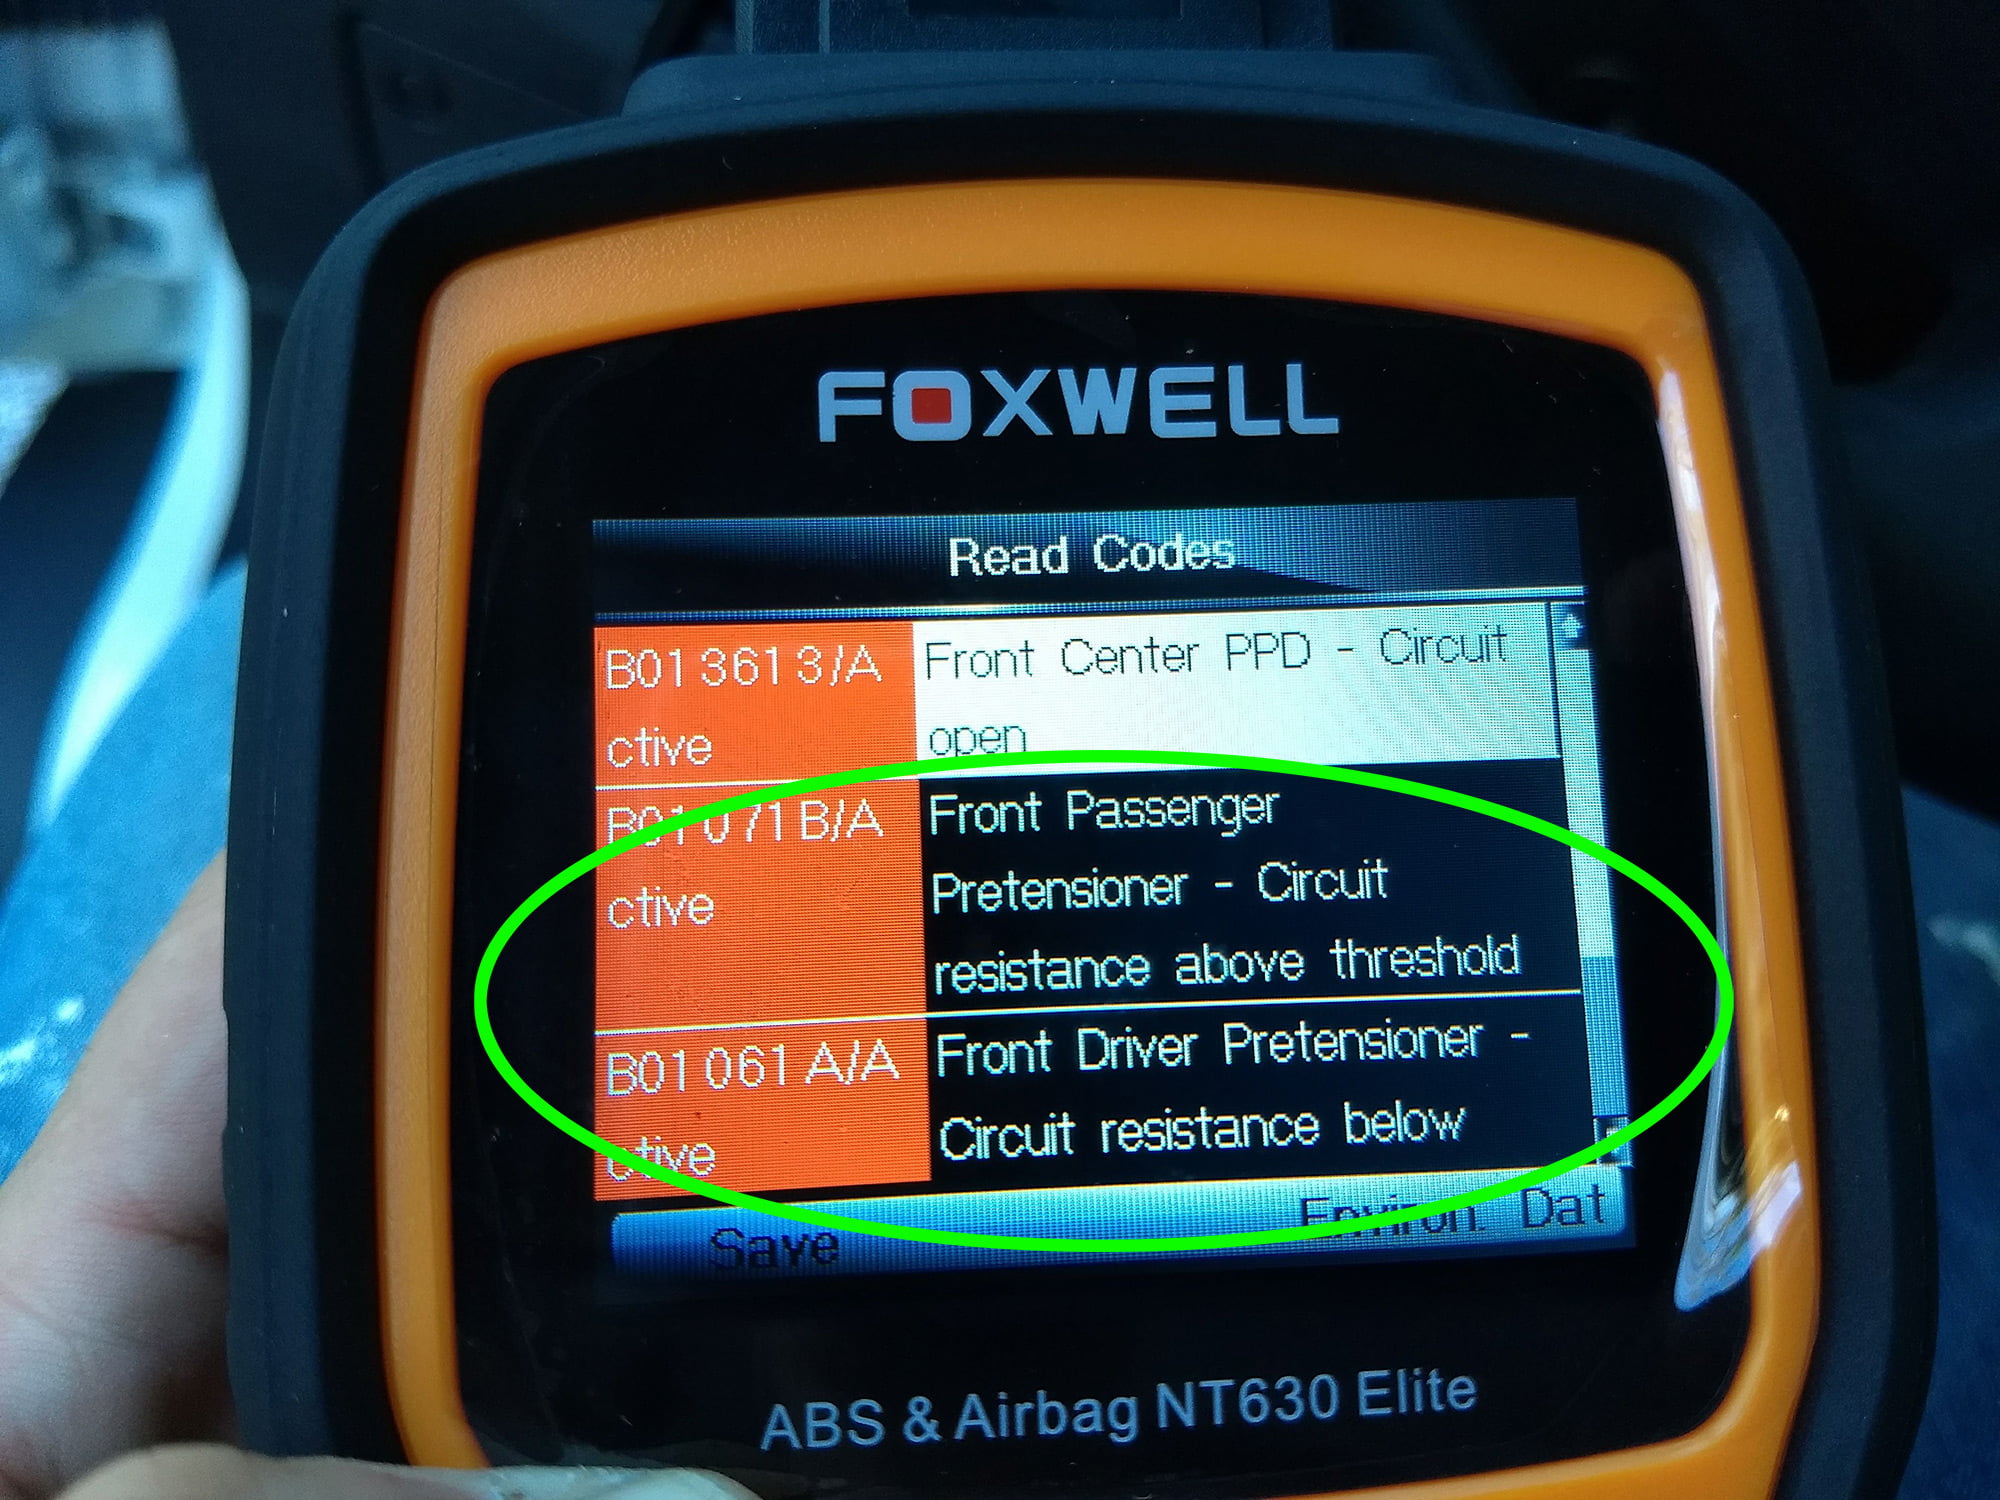
Thus began the search for a OBDII code reader that could give me any insight into what was going on with the airbag system. OBDII (or OBD2) ports are standard data connections on all modern vehicles. On the Promaster it’s the rectangular “port” below the steering wheel. There tons of “reader” devices that allow you to interface with the van’s computer and sensors and read “codes” – everything from handheld devices to “dongles” that use bluetooth to work with mobile apps. Turns out most of them are designed to only read “codes” related to the engine/drivetrain to diagnose why the “check engine light” is on so that code can be cleared and the light turned off. It took me a ton of research and purchasing two different devices to get one that actually read the airbag codes. So, let me save you the time. This is the one that works. It’s clunky and slow, but it will tell you what’s up with your airbag (and other safety systems).
When I finally read the code it was all about the “pretensioner”. What the hell is this thing? I knew it was the “seat belt part” but that’s all.
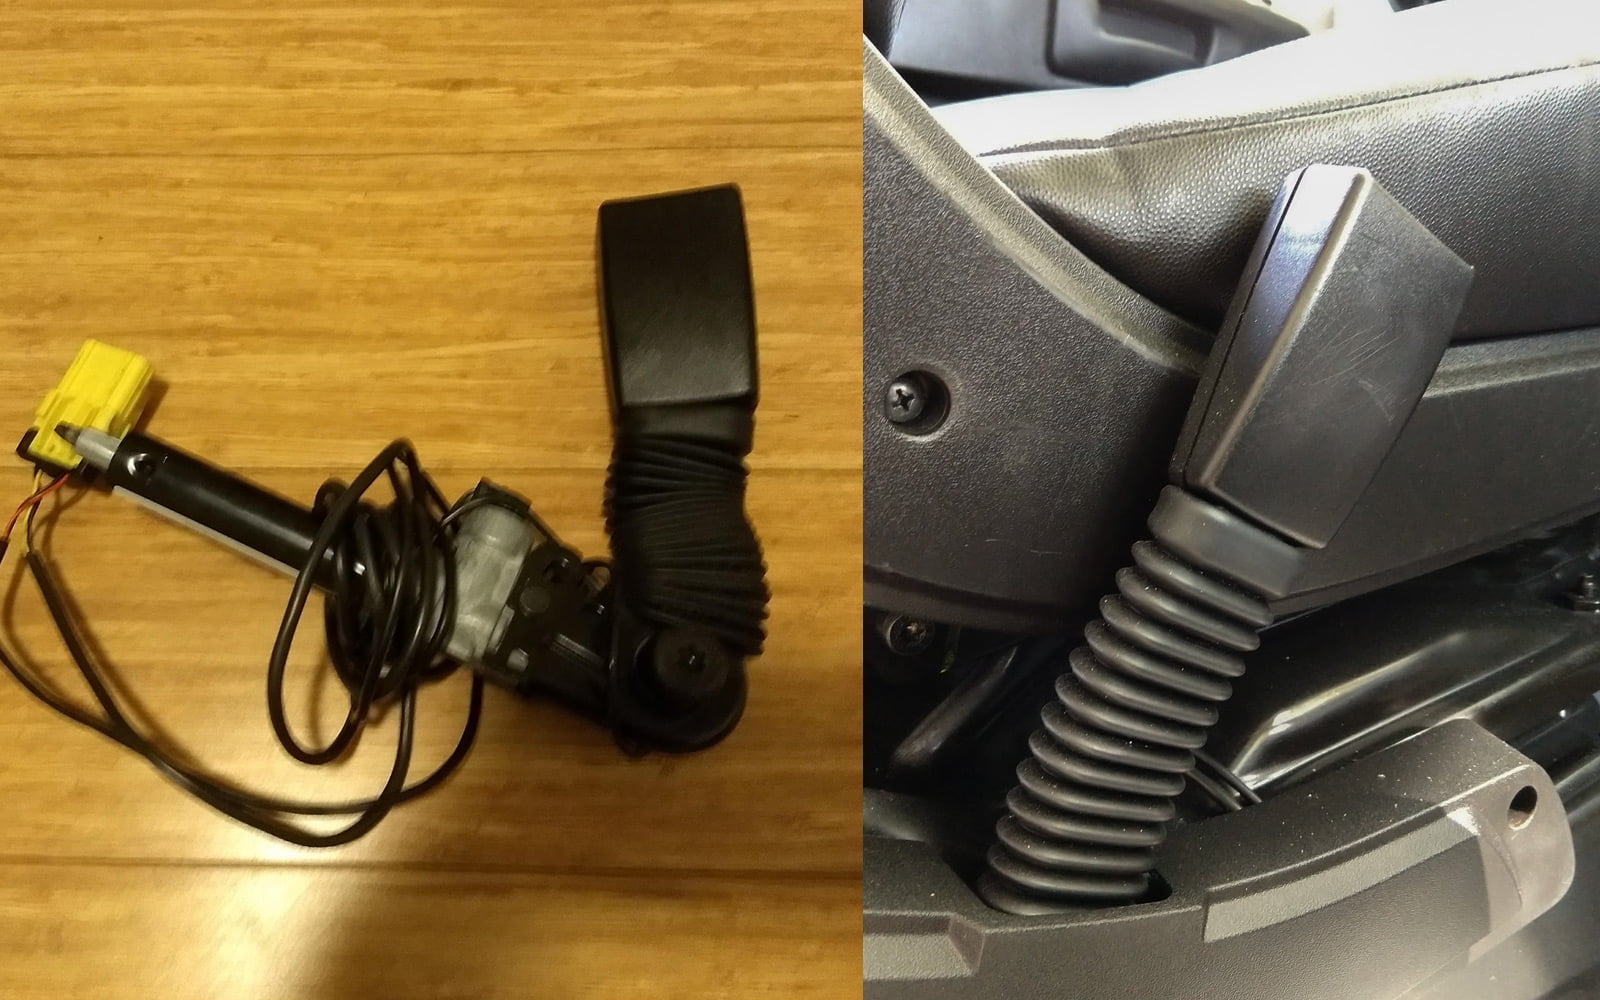
Thank the gods for Google. Essentially it’s a device that “uses an explosive charge to drive a concealed piston when sensors detect the signature abrupt deceleration of an accident” so that the seat belt tightens and pulls the occupant into the “right” position for the airbag to be most effective. It’s a pretty cool thing – you can read more about these devices here. Once the pretensioner “blows” it’s done for and must be replaced. Gotta have that new explosive charge. Well, since my donor seats were involved in a crash which is why they ended up at the salvage place, these were pooched. Indeed, once I started looking closely at the difference between the seat belt latches on my donor seats from the salvage place and those shiny new ones on the seats I took out the whole thing became very clear. In the photo below you can see the blown version on the left and how the flexible part leading up to the latch itself is crunched and mangled. That’s what the explosive charge does – it pulls that whole thing down to tension the seat belt. On the right is a new one – looks normal.
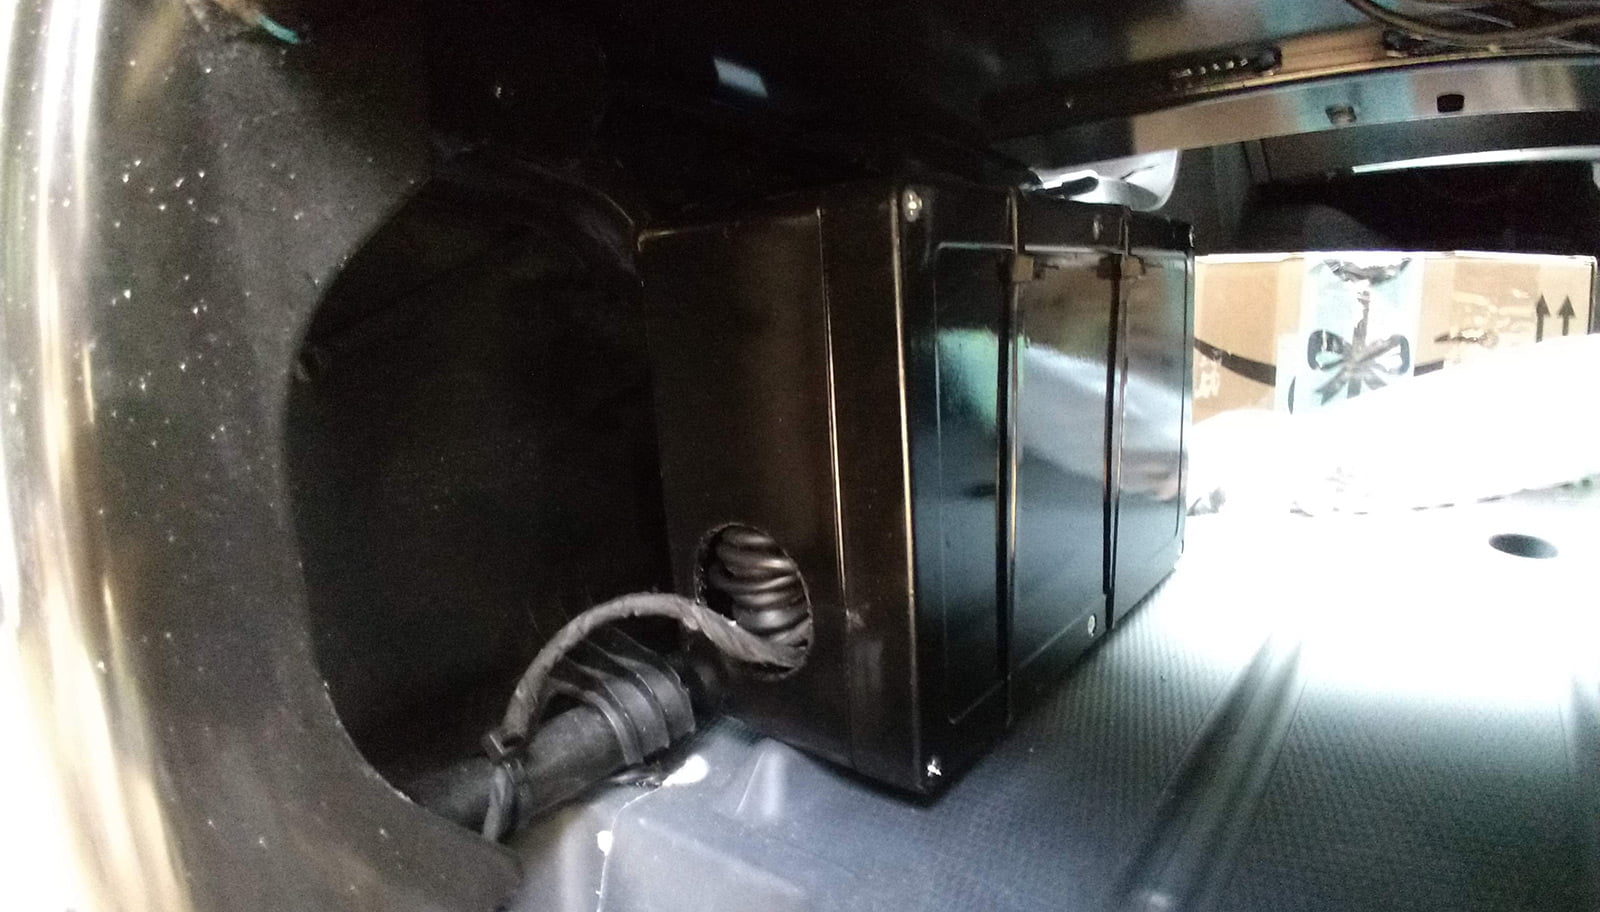
So that was it, as soon as I replaced those with the ones from the new seats the trick worked! To tidy things up, I put the “phantom” occupant detection sensor and seat belt pretensioner for the missing middle seat in a black plastic box and wire tied it underneath the passenger seat frame.
